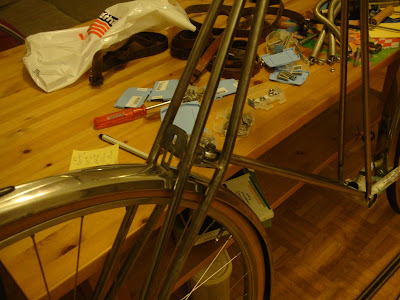
I came up with the following process. First, I gently pressed the tip of the tube in the vice as seen in the picture below. In steps, applying pressure at different points and shaping slowly in a constant tapered shape without buckling or collapsing the tube at any point.

Then I filed two washers to an angular shape as seen below, in such a way that the angle matches the taper in the tubing.

Next I hammered tightly both washers into the tubing crevice.

In the picture below, results can be seen after thorough brazing.

...and final results after drilling and filing.

Here is, for example, the frame part the connects the rear dropouts with the head tube.

In a similar fashion I crafted the beams that connect the pedal bracket front fixation point with the lower connecting point of the fork. As mentioned in an earlier post, the fork lower bracket is provided with an articulated joint that is to be fixed to these beams. I am showing below how did I manufacture the support at the tip to the lower fork beams which is to be assembled to the articulated joint.
Starting from a metal plate 2 mm thick, I bent it in the vice using a 12 mm tube to define the bending radius.

Here it is, nicely bent, with parallel wings. The rest is just standard cutting, filing and driling.

Brazing the support in place needed some creativity to hold the assembly in the correct position during the process.

The frame is taking shape, after all. Disregard the mess in my working table. I was just too eager to see the frame preliminarily assembled.

Mounting the fork, just to get the feeling of how the complete beast might look like.

Starting to look like a bike after all...


No comments:
Post a Comment